

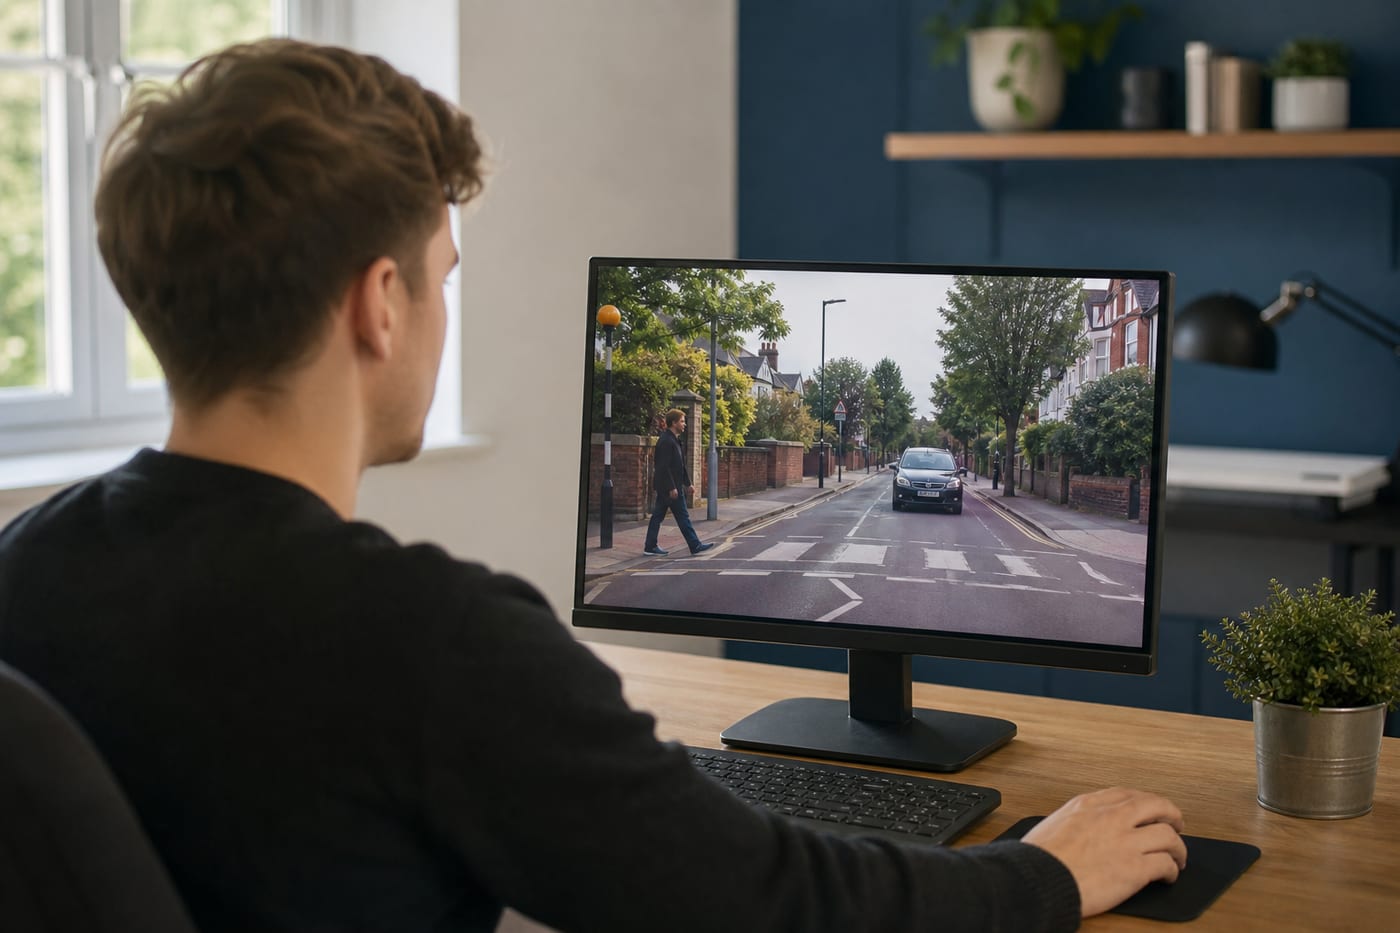
The hazard perception test checks whether you can recognise danger early enough to respond safely. Rather than testing your ability to memorise road signs or rules, it measures how well you observe changing traffic situations and identify hazards that are beginning to develop.
For many learners, this feels less predictable than the multiple-choice section of the theory test. However, hazard perception is a skill you can improve. Once you understand what counts as a developing hazard, how the scoring works and when to click, the test becomes much easier to approach confidently.
What is the hazard perception test?
Hazard perception is one of the two parts of the standard car theory test. The other part consists of multiple-choice questions covering subjects such as road signs, vehicle safety, vulnerable road users and the rules of the road.
During the hazard perception section, you watch a series of computer-generated video clips filmed from a driver’s point of view. Each clip presents an everyday road environment, which might include town traffic, rural roads, junctions, pedestrians, cyclists or changing weather conditions.
Your task is to identify developing hazards by clicking when you see them begin to create a situation that could require the driver to take action.
You must pass both parts of the theory test at the same appointment. A strong multiple-choice result cannot compensate for a failed hazard perception result, or vice versa. For a wider overview of both sections, see our complete breakdown of the UK theory test.
How many hazard perception clips are there?
In the standard car theory test, you are shown 14 video clips. Thirteen clips contain one developing hazard, while one clip contains two. This means there are 15 scored developing hazards altogether.
You can score up to five points for each developing hazard, giving a maximum possible score of 75. The pass mark for car drivers is 44 out of 75.
Before the scored clips begin, you are shown instructions explaining how the section works. Pay attention even if you have practised extensively, as this is a useful opportunity to settle into the format and check that you understand what is required.
You will not be told which clip contains two developing hazards. You should therefore remain observant after identifying one hazard rather than assuming that nothing else important will happen.
What counts as a developing hazard?
A hazard is anything that could cause a driver to change speed, direction or position. However, the test is specifically looking for hazards that are developing, not every possible source of danger visible in the scene.
For example, a parked car is a potential hazard because its door could open or it could pull away. It becomes a developing hazard if its indicator starts flashing, its wheels begin to turn or it starts moving into your path. At that point, a driver may need to slow down, change position or stop.
Other examples include:
- A pedestrian moving towards a crossing
- A child approaching the edge of the road
- A cyclist looking over their shoulder before moving out
- A vehicle emerging from a side road
- Brake lights appearing in traffic ahead
- An animal moving towards the carriageway
- A bus signalling to leave a stop
- A vehicle drifting towards your lane
- Roadworks narrowing the available space
The key question is: Is the situation now changing in a way that may require action? If the answer is yes, the hazard is probably developing.
How does hazard perception scoring work?
Each scored hazard has a scoring window. You can receive up to five points if you identify the hazard soon after it begins to develop. The available score then decreases as the situation progresses.
If you click before the hazard has started developing, that early click may not score. If you wait until the danger is obvious and immediate, you may receive fewer points or none at all. Good timing means recognising the change early, without trying to predict hazards before there is any evidence that they are developing.
The precise scoring windows are not displayed during the test. You will not see your score after each clip, and you cannot go back to replay a clip or alter your response.
You are allowed to click more than once in a clip, as several potential hazards may appear. However, clicking continuously or in a regular pattern can trigger the test’s anti-cheating system. If this happens, you may score zero for that clip.
Use deliberate clicks based on what you can see. If a situation changes significantly after your first click and you believe the developing danger has become clearer, a further genuine click may be appropriate. Avoid rapid, repeated clicking without a reason.
Our guide to scoring highly on the hazard perception test explores timing and clicking technique in more detail.
Potential hazards versus developing hazards
Understanding this distinction is one of the most important parts of preparation.
Imagine that you are approaching a row of parked vehicles. Their presence is a potential hazard, so you should monitor them. If a person appears between two vehicles and starts walking towards the road, the situation becomes a developing hazard. You may soon need to reduce your speed or stop.
Similarly, a car waiting at a side road is only a potential hazard while it remains stationary. If it begins creeping over the give-way line, it is developing into a hazard because it may enter your path.
Do not ignore potential hazards. Instead, watch them for signs of change. Hazard perception is about noticing those signs early and understanding what they could mean.
A practical scanning routine for every clip
Avoid staring only at the centre of the screen. Use a structured scanning routine similar to the observations you should make when driving:
Look well ahead
Scan the far distance for bends, junctions, traffic queues, warning signs and changes in the road. Looking ahead gives you more time to recognise a developing situation.
Check the middle distance
Watch vehicles, cyclists and pedestrians that could soon affect your path. Brake lights, indicators, wheel movement and changes in road position are especially useful clues.
Monitor the foreground and road edges
Look near parked vehicles, driveways, crossings, bus stops and pavements. Pedestrians, animals or vehicles may emerge from areas where your view is restricted.
Reassess after each hazard
Do not stop observing after you click. The situation may continue to change, or the clip could contain a second scored hazard.
Common mistakes to avoid
Clicking as soon as the clip starts
A visible object is not necessarily a developing hazard. Clicking immediately at every pedestrian, parked vehicle or junction can mean that you respond before the scoring window opens.
Waiting for emergency action
You do not need to wait until a collision appears likely. By then, the scoring window may be nearly over. Click when a hazard begins to develop and a safe driver could reasonably need to respond.
Using a memorised clicking rhythm
Patterns such as clicking every second do not demonstrate observation and may cause the clip to be rejected. Every click should relate to something happening in the scene.
Focusing on only one road user
A cyclist may attract your attention while a vehicle emerges elsewhere. Keep scanning the whole scene rather than developing tunnel vision.
Treating practice clips as a memory exercise
The goal is not to memorise exactly when to click in a familiar video. Use practice to learn the visual signs of a developing hazard so that you can apply the skill to unseen clips.
How to prepare effectively
Practise regularly in short sessions rather than completing many clips when tired. After each session, review why you clicked too early, too late or not at all.
Combine hazard perception practice with real-road observation during driving lessons. Without distracting the person driving, mentally identify possible hazards and notice when they begin to develop. Afterwards, discuss them with your instructor.
You should also revise subjects that support hazard awareness, including stopping distances, vulnerable road users, road conditions and safe following distances. A balanced revision plan is more effective than concentrating on video clips alone. These effective theory test revision strategies can help you organise your preparation.
On test day, make sure you can see the screen clearly and understand how to register a response. Stay calm if you think you missed a hazard. One uncertain clip does not mean you have failed, so reset your attention before the next one begins.
Frequently asked questions
Can I click more than once during a hazard perception clip?
Yes. A clip may contain several events, and one of the 14 clips has two scored developing hazards. Click when you genuinely identify a developing hazard, but do not click continuously or use a repeated pattern.
Do I lose points for clicking on the wrong thing?
There is no simple deduction for an individual incorrect click. However, unnecessary clicking does not earn marks, and excessive or patterned clicking can result in no score for that clip. Base each response on an observed change in the scene.
What happens if I pass hazard perception but fail the multiple-choice section?
You fail the overall theory test because both sections must be passed at the same appointment. You will need to book another test and take both sections again.
Is hazard perception the same as reacting quickly?
Not exactly. Fast reactions are useful, but the test primarily measures early recognition. A good driver scans ahead, anticipates how situations may change and notices developing danger before emergency action is needed.
Conclusion
The hazard perception exam is designed to test a real driving skill: recognising danger early enough to respond safely. Focus on the difference between potential and developing hazards, scan the entire scene and make deliberate clicks when circumstances begin to change.
With varied practice and careful review, you can improve both your test score and the observation skills you will need on the road.