

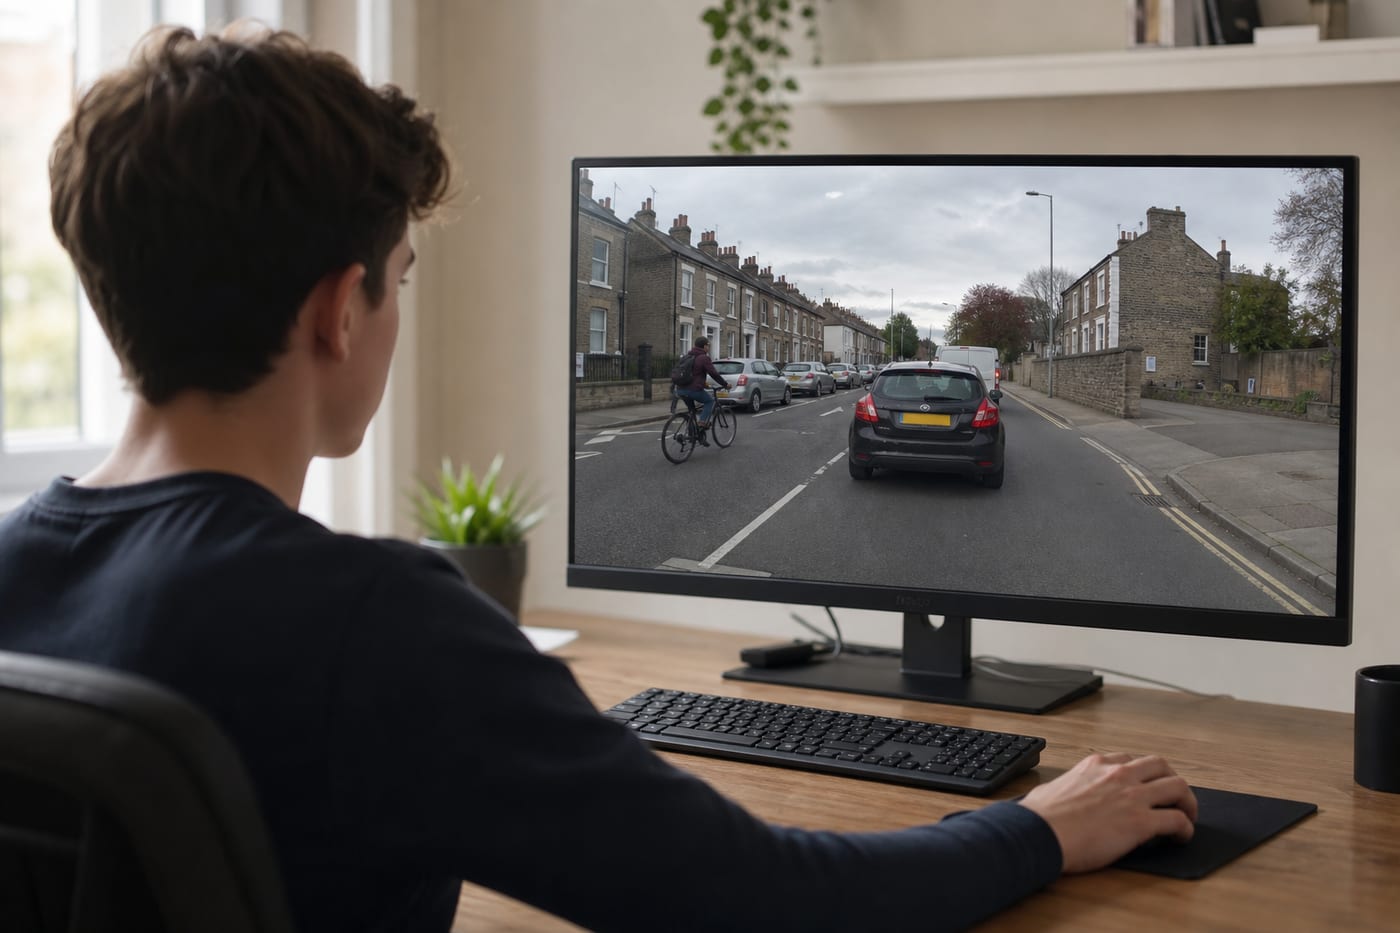
The hazard perception test checks whether you can recognise danger early enough to respond safely. It is not simply a test of how quickly you can click a mouse. You must understand how an ordinary road situation can develop into something that requires a driver to slow down, change direction or stop.
For many learners, this part of the theory test feels less predictable than the multiple-choice questions. However, once you understand what a developing hazard looks like, how the scoring window works and which clicking habits to avoid, it becomes much easier to approach confidently.
The details below apply to the standard car and motorcycle theory test in Great Britain. Other tests, including those for lorry, bus and approved driving instructor candidates, use different pass marks and formats.
What is the hazard perception test?
Hazard perception is the second part of the UK driving theory test. It follows the multiple-choice section, with an optional break of up to three minutes before it begins.
You watch a series of video clips filmed from a driver’s point of view. Each clip contains at least one developing hazard, while one clip contains two. The aim is to identify each developing hazard as early as possible.
For the car and motorcycle test, you will see 14 clips containing 15 scorable developing hazards in total. You can score up to five points for each hazard, giving a maximum possible score of 75. The pass mark is 44 out of 75.
You must pass both the multiple-choice and hazard perception sections at the same appointment. A strong score in one cannot compensate for a failed score in the other. If you fail either section, you will need to retake the complete theory test.
For a wider overview of both sections, see this complete breakdown of the UK theory test.
What counts as a developing hazard?
A hazard is anything that could cause a driver to alter their speed, position or direction. Roads contain many potential hazards, but you are scored when a potential hazard becomes a developing one.
Imagine that you see a child standing safely on the pavement. The child is a potential hazard because they could move into the road. If the child begins running towards the kerb or steps into the carriageway, the situation is now developing and may require you to slow down or stop.
Other examples include:
- A vehicle edging out of a side road into your path
- A cyclist moving around a parked vehicle
- A pedestrian approaching or entering a crossing
- A bus signalling and beginning to pull away
- A car ahead braking sharply
- An animal moving towards the carriageway
- A parked vehicle opening a door into your path
- Roadworks forcing traffic to merge or change position
The precise moment matters. Clicking when you first notice a harmless object may be too early, but waiting until emergency action is clearly necessary may be too late to earn a high score.
Potential hazards versus developing hazards
The distinction is easier to understand if you ask one question: Is this situation now likely to make me take action?
A parked van that blocks your view is a potential hazard. If a pedestrian’s feet appear beneath it or the van begins pulling out, it has started to develop. Similarly, a cyclist travelling steadily in a cycle lane is something to monitor. If the lane becomes obstructed and the cyclist looks over their shoulder or moves towards your lane, the risk is developing.
You are not expected to predict the impossible. Instead, look for visible clues that increase the chance of conflict.
How hazard perception scoring works
You can score from five points down to zero for each developing hazard. The earlier you respond within the scoring window, the more points you receive.
The scoring window begins when the hazard starts to develop. A click near the beginning may earn five points. Later responses earn fewer points as the opportunity to react safely becomes shorter. Clicking after the scoring window has closed earns nothing for that hazard.
The test does not display the scoring window, so you must judge the scene naturally. You will not be told during a clip whether your click scored.
There is no separate penalty for an occasional click that does not correspond to a hazard. However, clicking continuously, extremely frequently or in a clear pattern can trigger the test’s anti-cheating system. If that happens, you may score zero for the affected clip.
When should you click?
Click when you see clear evidence that a situation is beginning to develop and may require action. Do not wait until the danger is immediately in front of you.
Some learners use a cautious confirmation technique: they click when the hazard first begins developing, then click once more if the situation clearly continues or becomes more serious. The clicks should be based on what you see rather than made automatically at fixed intervals.
For example, you might click when a car starts edging out of a side road. If it then continues into your lane, a second natural click may help if your first response was just before the scoring window opened.
This does not mean repeatedly clicking every visible object. Controlled, meaningful responses are safer than trying to beat the system. Our guide to scoring highly on the hazard perception test explores timing and clicking technique in more detail.
What should you watch for in each clip?
Effective observation involves scanning the complete scene rather than staring at the vehicle directly ahead.
Look well into the distance
Events further along the road can affect you within seconds. Watch junctions, crossings, traffic lights, bends and places where visibility is limited.
Early clues might include brake lights in the distance, traffic bunching together or vehicles changing position around an obstruction.
Check the sides of the road
Pedestrians, cyclists, driveways and side roads often create developing hazards. Pay particular attention near schools, shops, bus stops and residential streets, where road users may enter the carriageway unexpectedly.
Watch for restricted views
Parked vans, buses, hedges and bends can hide danger. You cannot click merely because something might be concealed, but you should be ready to respond when a visible clue appears.
Notice behaviour, not just objects
A person’s movement can reveal what may happen next. A pedestrian repeatedly looking across the road may be preparing to cross. A cyclist checking over their shoulder may be about to move sideways. A driver’s front wheels turning can show that a parked car is about to pull away.
Use the road environment
Signs, markings and surroundings provide useful context. A warning sign for a school, a narrowing road or a pedestrian crossing should encourage closer observation. These features are not necessarily developing hazards by themselves, but they tell you where conflict is more likely.
Common mistakes that reduce hazard perception scores
Clicking as soon as the clip starts
There is no advantage in clicking before anything develops. Random early clicks do not demonstrate hazard awareness and may contribute to an unsuitable clicking pattern.
Waiting for an emergency
If you wait until a pedestrian is directly in the road or a vehicle has fully entered your lane, the highest-scoring part of the window may have passed. Respond to the development, not only the final danger.
Focusing on one area
Staring at the centre of the screen can cause you to miss hazards emerging from pavements, side roads or parked vehicles. Keep your eyes moving and scan the whole scene.
Clicking rhythmically
Clicking every second or repeatedly pressing the mouse throughout the clip can result in zero for that clip. Each response should relate to a genuine change in the road scene.
Assuming every clip has only one hazard
One of the 14 clips includes two developing hazards. Continue concentrating after identifying the first one. Do not relax until the clip ends.
Memorising practice videos
Recognising a clip from memory is not the same as recognising risk. The real test will require you to apply your skills to the scenes presented on the day. Use practice material to develop observation and judgement rather than memorising click points.
How to practise effectively
Start by learning the difference between a potential and developing hazard. During practice clips, explain what you noticed and why it would make you change speed or direction. This builds understanding instead of encouraging guesswork.
Review poor scores carefully. Ask whether you clicked too early, reacted too late, focused on the wrong part of the scene or missed an important clue. A low practice score is useful if you identify the reason behind it.
Try clips covering varied environments, including urban roads, rural bends, dual carriageways and poor weather. Different locations produce different clues, but the underlying principle remains the same: spot the point at which risk begins to require action.
Regular short sessions are usually more productive than one long practice session. Tiredness can reduce concentration and encourage careless clicking. Combine hazard practice with Highway Code revision and multiple-choice mock tests. These effective theory test revision strategies can help you organise both sections.
It also helps to apply the skill during driving lessons. Without distracting the driver, discuss hazards with your instructor and explain what you noticed afterwards. Real-road experience can improve your ability to recognise clues such as wheel movement, brake lights and pedestrian behaviour.
What happens on the day?
Before the scored clips begin, you will receive instructions and have the opportunity to watch a demonstration. Use this to make sure you understand how to respond.
Once a scored clip starts, stay focused until it finishes. You cannot pause it, replay it or go back to change your responses. Keep your hand comfortably positioned on the mouse so you can respond without looking away from the screen.
If you normally wear glasses or contact lenses for clear vision, make sure you have them with you. Candidates who need reasonable adjustments or other support should check the available arrangements and request them through the official booking process where appropriate.
FAQ
Can I click more than once for the same hazard?
Yes, provided your clicks are natural responses to what is happening. A second click may be sensible if a hazard continues to develop, but repeated or patterned clicking can cause you to score zero for the clip.
Do I lose points for clicking on the wrong thing?
An occasional non-scoring click does not directly subtract points. However, excessive, continuous or patterned clicking can trigger the anti-cheating system and invalidate your score for that clip.
How many hazards are in the car hazard perception test?
There are 14 video clips containing 15 developing hazards. Most clips contain one scorable hazard, while one clip contains two. The maximum score is 75 and the car test pass mark is 44.
What happens if I pass hazard perception but fail the questions?
You must pass both parts at the same test appointment. If you fail the multiple-choice section or hazard perception section, you fail the overall theory test and must retake both parts.
Conclusion
Passing hazard perception depends on recognising when an ordinary road situation begins to demand action. Scan the whole scene, look for behavioural clues and click when a potential danger starts to develop—not only when it becomes an emergency.
With varied practice and careful review of your timing, you can build a skill that helps not only in the theory test but also during lessons and throughout your driving life.