

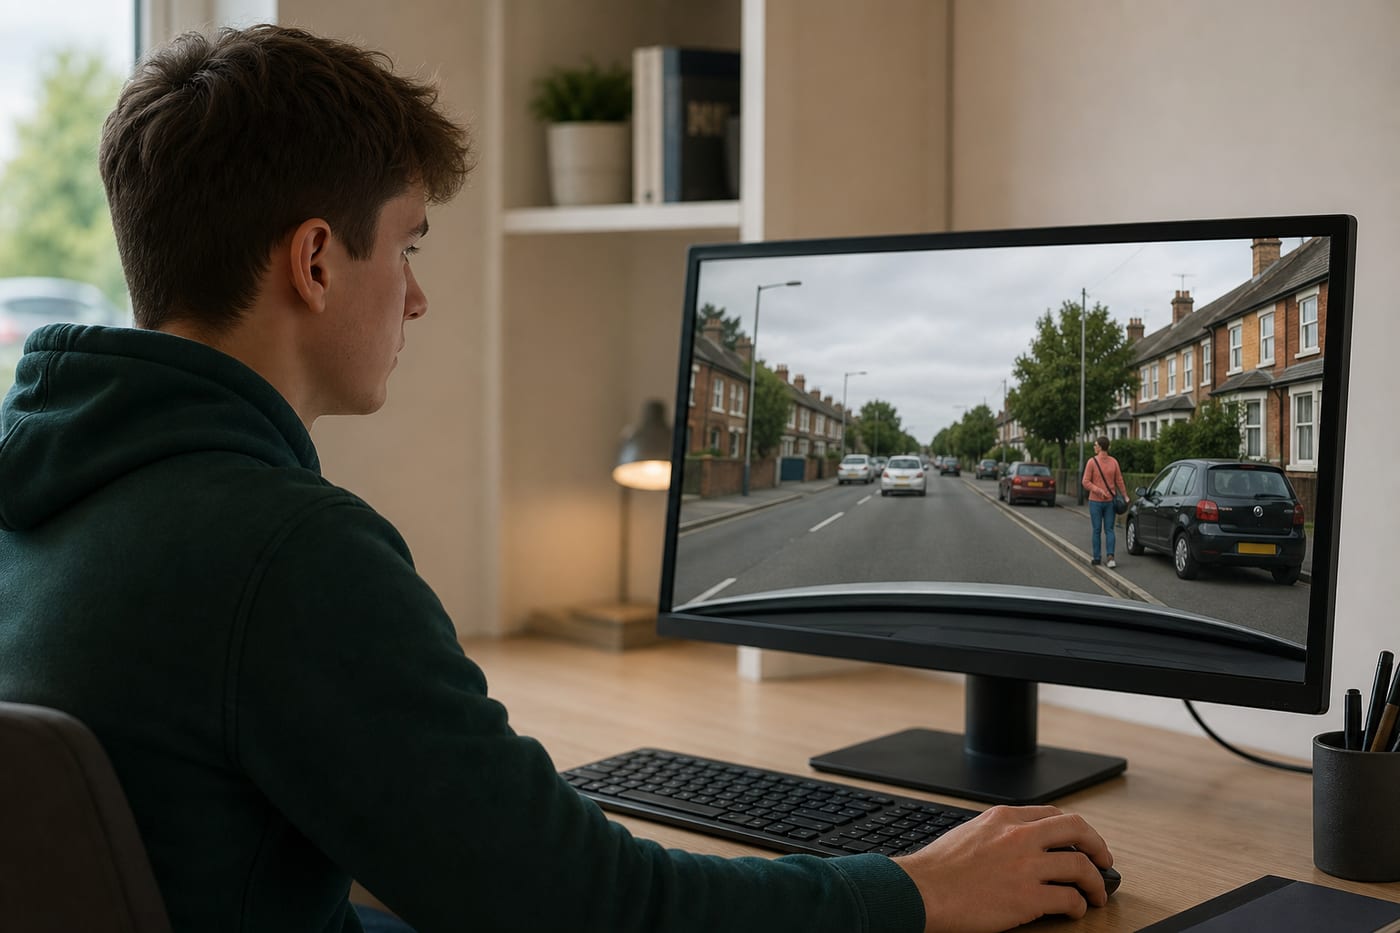
The difference between a high and low hazard perception score often comes down to a fraction of a second. You must identify a developing hazard early enough to earn points, but not click so soon that the situation has not yet begun to develop.
This can feel confusing at first. A pedestrian standing near a crossing, for example, might become a hazard, but you need to recognise the moment their actions could make you change speed or direction.
The good news is that correct timing can be learnt. By understanding what a developing hazard looks like and practising a controlled clicking technique, you can approach this part of the UK theory test with much more confidence.
How hazard perception scoring works
During the car theory test, you watch 14 video clips showing everyday road scenes. Each clip contains at least one developing hazard, and one clip contains two. That gives you 15 scoreable hazards in total.
You can score up to five points for each developing hazard. The earlier you respond within the scoring window, the more points you can receive. Your score reduces as the situation continues to develop, eventually reaching zero if you respond too late.
The maximum score is 75, and the car hazard perception pass mark is 44. You must pass both the multiple-choice and hazard perception sections to pass the theory test overall.
For a broader explanation of the clips and scoring system, see our guide to how the hazard perception test works.
What is a developing hazard?
A developing hazard is something that would cause you, as the driver, to take action. You might need to change speed, alter direction or stop.
This is different from a potential hazard. A potential hazard deserves your attention, but it does not yet require a response.
Imagine that you are driving along a residential street and see a child standing safely on the pavement. The child is a potential hazard because they could move towards the road. If they turn towards the kerb and begin running into the road, the situation becomes a developing hazard. At that point, a driver would need to slow down or stop.
Other common examples include:
- A vehicle beginning to emerge from a side road
- A pedestrian moving towards a crossing
- A cyclist changing position to avoid a parked car
- A vehicle ahead braking sharply
- A bus indicating and beginning to pull away
- An animal moving towards the carriageway
- A parked vehicle starting to move into traffic
The key question is: Would this situation now make me take action? If the answer is yes, it is usually time to respond.
When should you click?
You should click when you first recognise that a potential hazard is actively developing and is likely to affect your driving.
Do not wait until the danger is directly in front of you. By then, you may be outside the scoring window or receive only a low score. Equally, clicking as soon as any possible risk appears may be too early.
Look for a change in the situation
Developing hazards are usually revealed by movement or a clear change in behaviour. Look for clues such as:
- A pedestrian turning towards the road
- The wheels of a parked vehicle beginning to turn
- Brake lights appearing ahead
- A vehicle moving beyond a give-way line
- A cyclist looking over their shoulder and moving outwards
- A ball rolling into the road, suggesting a child may follow
- A vehicle’s indicator being followed by actual movement
An indicator alone does not guarantee that a vehicle will move. However, once the vehicle begins changing position and could affect you, the hazard is developing.
Respond as a driver, not as a spectator
Try to imagine that you are behind the wheel rather than simply watching a video. Ask yourself what you would do next.
If you would ease off the accelerator, cover the brake, brake, stop or change road position, click. This driver-focused approach is more reliable than trying to guess where an invisible scoring window begins.
Should you click more than once for the same hazard?
You do not need to rely on one perfectly timed click. If you are unsure whether your first response was slightly early, you can make another deliberate click as the hazard clearly develops.
For example, you might click when a pedestrian walks quickly towards a crossing, then click again when they step into the road. These clicks represent your recognition of the changing level of risk.
However, this does not mean you should use a fixed clicking formula or repeatedly press the mouse. Clicking continuously, rapidly or in a regular pattern can be treated as an unacceptable response. If the system detects this behaviour, you may score nothing for that clip.
A sensible approach is:
- Click when you believe the hazard starts developing.
- If the risk becomes clearer immediately afterwards, make one further considered click.
- Stop clicking for that hazard once you have clearly identified it.
- Continue scanning because another hazard may develop, particularly in the clip containing two scoreable hazards.
Every click should relate to something you have observed. Controlled responses are safer than random or rhythmic clicking.
Common timing mistakes
Clicking at every potential hazard
Road scenes contain many things that could become dangerous: junctions, parked vehicles, pedestrians and cyclists. Not all of them will develop into a situation requiring action.
If you click at everything, you are not demonstrating that you can distinguish general risk from a developing hazard. Scan potential hazards, but respond when one begins to affect your progress.
Waiting for an emergency
Some candidates wait until another road user is directly in their path. This is usually too late for a high score and does not reflect safe driving.
Good drivers act before a situation becomes an emergency. Watch for early signs of movement and be prepared to respond as soon as the risk develops.
Watching only the centre of the screen
A hazard may first appear at the edge of the scene. A pedestrian can approach from a pavement, a vehicle can emerge from a side road, or a cyclist can be partly hidden behind parked cars.
Keep your eyes moving. Check the distance, pavements, junctions, parked vehicles and areas where your view is restricted.
Clicking because the scene feels busy
A busy road is not automatically a developing hazard. Your response should be connected to a particular road user or event that would make you act.
Try naming the hazard in your head: “the van is emerging”, “the pedestrian is stepping out” or “the cyclist is moving around the parked car”. This encourages purposeful clicking.
Stopping your scan after one hazard
Most clips contain one scoreable developing hazard, but one of the 14 clips contains two. You will not be told which clip it is.
After responding to a hazard, continue observing the whole scene until the clip ends. Do not assume your work is finished.
A practical method for better click timing
Use this simple observation process during practice and in the test.
1. Scan the full road scene
Look ahead, but also monitor pavements, side roads and parked vehicles. Pay particular attention to places where people or vehicles could enter your path.
2. Identify potential hazards
Notice anything that could reasonably affect you. Do not click automatically; keep it under observation.
3. Look for development
Watch for movement, changed road position, brake lights or behaviour showing that the risk is becoming immediate.
4. Ask whether you would act
Would you slow down, stop or steer differently? If so, make a deliberate click.
5. Keep scanning
Do not stare at the hazard you have already identified. Check the rest of the road for another developing risk.
This process should become quick and natural with practice. You will not need to recite every step once you become used to identifying hazards.
How to practise timing effectively
Watching clips is useful only if you review why you scored well or poorly. After each practice session, consider whether you clicked too early, too late or too often.
When replaying a clip, divide the event into stages:
- The road user or object first appears
- It presents a possible risk
- Its behaviour changes
- You would need to take action
- Immediate action becomes unavoidable
Your target is the transition from possible risk to developing hazard, not the final emergency stage.
Practise regularly in short sessions rather than completing many clips without reflection. You can include hazard work in a wider theory test study schedule, balancing it with Highway Code revision and multiple-choice questions.
It is also important to practise with a mouse if that is how you will respond at the test centre. Make sure each press is clear and intentional. Avoid double-clicking accidentally or keeping your finger so tense that you respond to every minor event.
For additional ways to improve your result, explore these strategies for scoring highly on hazard perception.
Staying calm during the real test
You will be shown instructions before the hazard perception section begins. Pay attention even if you have practised extensively.
Settle into a comfortable position and keep your hand relaxed on the mouse. Concentrate on the current clip rather than trying to calculate your score.
If you think you missed a hazard, do not panic or attempt to compensate by clicking excessively. You cannot return to a completed clip, so refocus on the next one. A mistake on one hazard does not prevent you from achieving a passing score overall.
Frequently asked questions
Can I click more than once in a hazard perception clip?
Yes. You can respond to different hazards and may make another considered click if a situation continues to develop. However, excessive, continuous or patterned clicking can result in no score for that clip.
Will I lose points for clicking too early?
There is no separate point deduction, but a click made before the scoring window may not score. Watch for the moment a potential hazard begins to develop and would cause a driver to take action.
How many clicks should I make per clip?
There is no recommended fixed number. Click when you identify a genuine developing hazard. The number will depend on what happens in the clip, so do not use a memorised clicking pattern.
What should I do if I realise I clicked late?
Continue with the test and stay focused. You may still receive some points if your response falls within the scoring window. Keep scanning until the clip ends because another developing hazard could appear.
Conclusion
Correct hazard perception timing is about recognising change. Notice potential risks, watch how they develop and click as soon as the situation would make you slow down, stop or alter direction.
Do not wait for a near miss, but do not respond randomly to every object in view. With regular, reflective practice, your clicks will become more deliberate and your hazard awareness will improve both for the theory test and for real driving.