Road signs are a major part of everyday driving, so recognising them is about much more than remembering answers for the theory test. A sign may warn you about a sharp bend, tell you which traffic must give way or prohibit you from entering a road. You often need to understand it within seconds.
The good news is that you do not have to memorise every sign as an isolated picture. UK road signs follow patterns based on their shape, colour and symbols. Once you understand that visual language, unfamiliar signs become easier to interpret and familiar ones are much harder to confuse.
Here is how to hone your road sign knowledge and recall it confidently when your test arrives.
Start With the Meaning of Shapes
Shape is often the fastest clue to a road sign’s purpose. Instead of beginning with hundreds of individual signs, learn the main families first.
Triangles usually give warnings
Most warning signs are triangular, with a red border and a symbol showing the hazard ahead. Examples include bends, crossroads, traffic signals, animals, pedestrians and slippery roads.
When you see a triangle, ask:
- What hazard is being shown?
- Where might I meet it?
- How should it affect my speed or position?
- What other road users could be involved?
This is more useful than simply naming the sign. A warning sign for children, for example, should prompt you to expect young pedestrians who may behave unpredictably and to adjust your speed accordingly.
Circles usually give orders
Circular signs generally tell road users what they must or must not do.
A red ring normally indicates a prohibition or restriction. This could include a speed limit, a restriction on certain vehicles or a ban on turning.
Blue circular signs normally give positive instructions, such as proceeding in a particular direction or keeping to a specified side of an obstruction.
An easy memory aid is: red circles restrict; blue circles instruct. It is not a replacement for learning each sign, but it gives you a reliable starting point.
Rectangles provide information or directions
Rectangular signs are commonly used for directions, route information and other useful instructions. Their colours can help identify the type of road or destination being shown.
For example, direction signs use different background colours for motorways, primary routes, non-primary routes and tourist destinations. Study these as a colour-coded group rather than as unrelated signs.
There are also a few distinctive shapes worth remembering. The STOP sign is octagonal, while the GIVE WAY sign is an inverted triangle. Their unique shapes help drivers recognise them even if visibility is poor or the sign is partly obscured.
Learn Signs in Related Groups
Long, random lists are difficult to retain. Divide signs into manageable themes so that your brain can build connections between them.
Useful groups include:
- Speed and movement restrictions
- Junctions and priorities
- Parking, waiting and loading
- Pedestrians, cyclists and animals
- Motorway signs
- Road works and temporary signs
- Level crossings
- Direction and information signs
- Vehicle restrictions
- Road markings and traffic signals
Spend one revision session on a single group. Once you can identify the signs individually, compare similar examples side by side. This helps you notice the detail that changes the meaning.
A realistic study timetable can stop one weak topic from taking over all your preparation. Our guide to creating a theory test study schedule explains how to divide revision into manageable sessions.
Focus on Signs That Are Easy to Confuse
Many mistakes happen because a candidate recognises the general appearance of a sign but misses an important feature.
No entry and restrictions on motor vehicles
The no-entry sign has a red circular background with a horizontal white bar. It applies to entry into the road from that direction.
Other signs use a red ring around vehicle symbols to show which types of traffic are prohibited. Do not choose an answer simply because you see a red circle. Check the symbol inside it.
No waiting and no stopping
A blue circle with a red border and a single diagonal red bar indicates no waiting. A red cross formed by two diagonal bars indicates no stopping.
Restrictions may be supported by plates showing when or where they apply. Road markings can also provide additional information, so consider the sign, plate and markings together.
Minimum and maximum speed limits
A maximum speed limit is shown as a number inside a red circle. A minimum speed limit uses a number on a blue circular sign. The end of a minimum speed limit is shown differently again.
Do not rely only on the number. Colour and border are essential to the meaning.
National speed limit signs
The national speed limit sign is a white circle with a black diagonal stripe. It does not always mean the same numerical limit. The applicable limit depends on the type of road and vehicle.
For theory test questions, examine the whole situation. Identify the road, the vehicle and any relevant restrictions rather than automatically selecting one speed.
Signs warning of people
Signs relating to pedestrians, children, school crossings and accompanied horses can look broadly similar at a glance. Study the exact symbols and think about the different behaviour you should anticipate in each situation.
Connect Each Sign to a Driving Response
Knowing a sign’s name is only the first stage. You should also understand what a safe driver would do after seeing it.
For every sign you revise, answer three questions:
- What does it mean?
- What risk or rule does it relate to?
- What should I do next?
Suppose you see a warning sign for a side road. It tells you more than the layout of the junction. You should look for vehicles emerging, watch for indicators, reassess your speed and be ready to respond.
This approach also supports hazard perception. Signs frequently give advance notice of situations that could develop into hazards. If you want to improve that wider skill, use our practical guide to identifying road hazards as a driver.
Use Active Recall Rather Than Repeated Reading
Looking through the same pages repeatedly can create a misleading feeling of familiarity. You may recognise a sign while it is in front of you but struggle to explain it without the answer nearby.
Active recall is more effective because it requires you to retrieve information from memory. Try these methods:
- Cover the description and explain the sign aloud.
- Look at a sign and write down its meaning and required response.
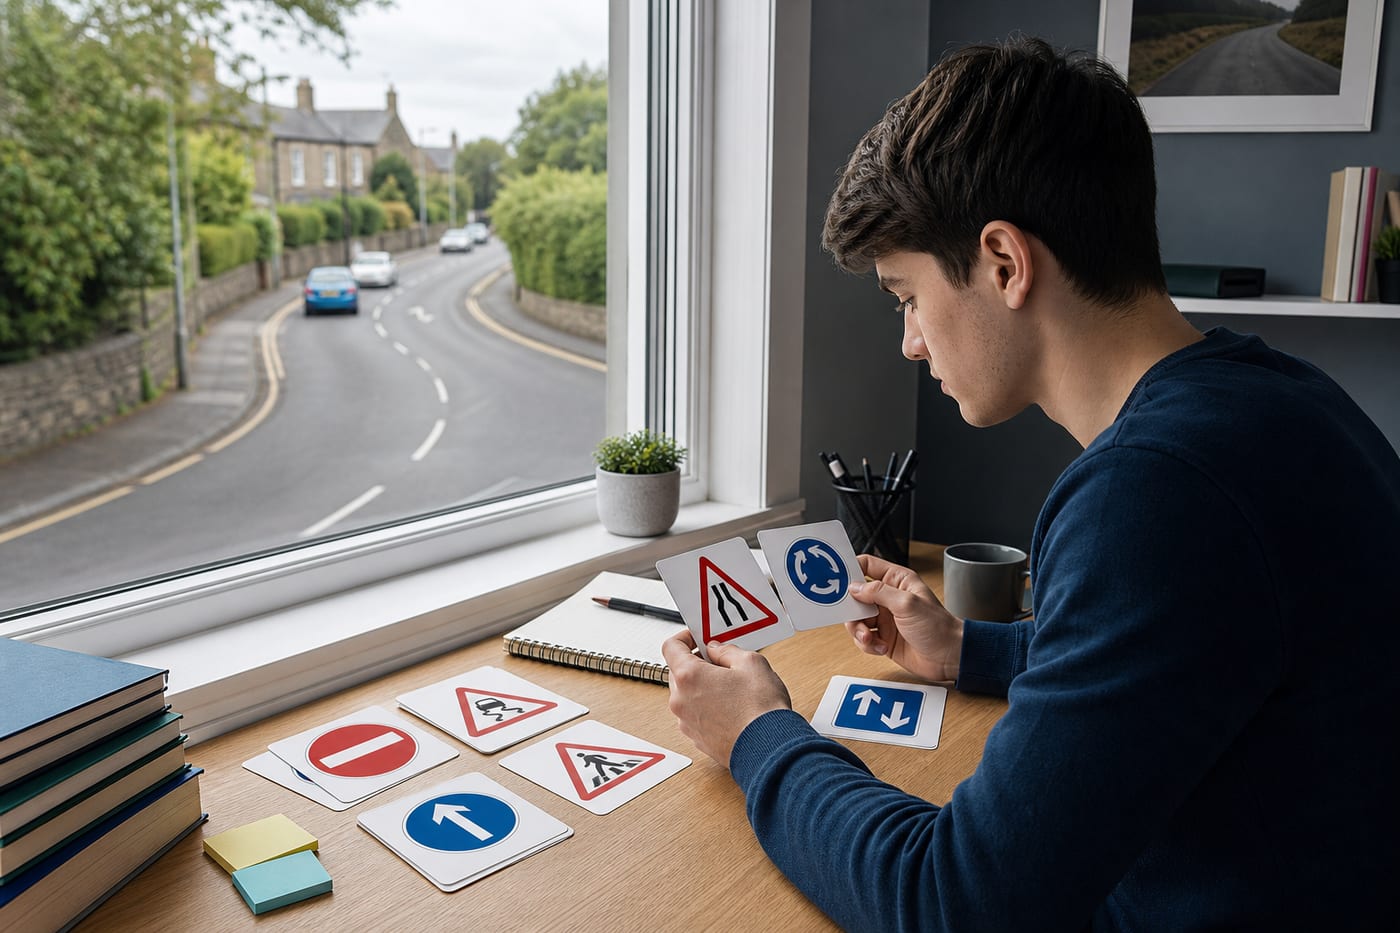
- Use flashcards with the image on one side and the explanation on the other.
- Draw simple versions of signs from memory.
- Ask someone to quiz you in a random order.
- Sort sign cards into warnings, orders and information.
Keep a separate list of signs you answer incorrectly. Revisit that list frequently rather than spending equal time on signs you already know.
Practise Signs in Real Road Contexts
Road sign revision should not be limited to a screen or book. During driving lessons, identify signs as early as possible and explain how they affect your driving.
If you are a passenger, you can also observe signs without taking your attention away from controlling a vehicle. Try to notice:
- Where a sign is positioned
- Whether it has a supplementary plate
- Which traffic it applies to
- What road marking accompanies it
- What hazard or restriction follows
Do not turn this into a distraction for the driver. Quiet observation is enough, and you can discuss difficult signs after the journey.
Real-world practice teaches you that signs work as part of a wider system. A warning sign may be followed by a change in road layout, while a restriction sign may apply only during the times displayed on an accompanying plate.
Use Reliable Revision Material
Use the current editions of The Highway Code, Know Your Traffic Signs and suitable DVSA revision materials. Road signs, rules and test content can change, so avoid relying on old books, unverified social media posts or copied question lists.
Official practice material also helps you understand how knowledge may be tested through a situation rather than through a simple “name this sign” question.
If you need an overview of both test sections, the complete breakdown of the UK theory test covers multiple-choice preparation, hazard perception and what to expect on the day.
Review Mistakes Properly
Mock tests are useful only if you investigate your errors. After each practice session, record:
- The sign or topic you misunderstood
- The answer you selected
- Why that answer appeared plausible
- The detail you missed
- The correct driving response
Look for patterns. If most mistakes involve parking restrictions, devote a session to signs, plates, kerb markings and yellow lines. If colours are causing confusion, revise signs by colour and purpose.
Avoid memorising the position of answers in repeated mock questions. Your goal is to understand the rule well enough to answer when the wording or road situation changes.
Build a Short Pre-Test Road Sign Routine
In the final week, use brief and frequent sessions rather than one exhausting day of revision.
A practical routine could include:
- Day one: warning signs
- Day two: regulatory and restriction signs
- Day three: directions and motorway signs
- Day four: parking, waiting and loading rules
- Day five: road works, crossings and signals
- Day six: mixed road sign questions
- Day seven: review only your weakest areas
On the evening before the test, avoid trying to learn every sign again. Review your error list, check a few easily confused pairs and then rest. Concentration will help you more than a late-night revision marathon.
FAQ
Do I need to memorise every road sign for the theory test?
You should develop a broad understanding of the signs, signals and road markings covered by official learning materials. Learning the patterns behind shape, colour and symbols makes this easier than treating every sign as a completely separate fact.
Are road signs included in the hazard perception test?
Road signs can appear within hazard perception clips and may warn you about conditions ahead. However, the task is to identify developing hazards, not simply to click whenever you see a sign. Use the sign as an early clue and watch how the situation changes.
What is the quickest way to improve road sign recall?
Combine active-recall flashcards with mixed practice questions and real-road observation. Spend extra time comparing signs you commonly confuse, and always explain the driving action associated with each one.
Should I revise road markings as well as signs?
Yes. Signs, road markings, traffic lights and supplementary plates often work together. Understanding only one part could cause you to miss a restriction, lane instruction or priority rule in a theory question and during real driving.
Conclusion
Strong road sign knowledge comes from recognising patterns, understanding the reason for each sign and connecting it with a safe response. Learn signs in groups, test yourself without prompts and review every mistake carefully.
By practising little and often, you will be better prepared not only for theory test questions but also for the quick decisions required on real UK roads.